DIY Cake Topper


Hello there! Life is so busy right now! However, there's always time to make a friend a cake on their birthday. My friend Lindsay had one request: a white cake with sprinkles. So I thought great! simple and cute, but it's missing a little je ne sais quoi. So after a little pinterest research (it really NEVER fails) I had it! A sparkly cake topper! And since her card was a massive My Little Pony Card (hah!) I figured let's stay in this magical childhood girly theme and put a UNICORN on the cake! Yes!


  What you'll need: 

☆ the outline of your topper
 ☆ sparkly sticker paper
☆ computer printer
☆ 2 sishkabob sticks
☆ scissors

Instructions
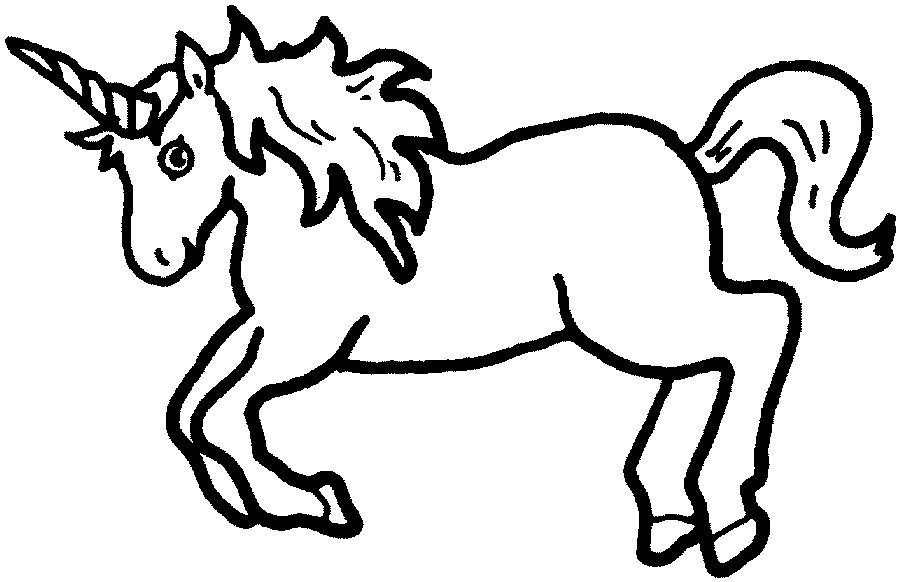
①  Find an image you like on the web. It has to be simple, so you can type "outline" or "coloring page" in goolge.  This is what I found for "unicorn coloring page":
② Print your image on the back of your sticker sheet of sparkly paper (on the non-sparkly-side).
③ Cut it out and peel the backing.
④ Place two shishkabob sticks on the sticky side and place another sheet of colorful paper as backing. The shishkabob stickes will be sandwiched between the stciker paper and the regular backing paper. Trim around edges.
⑤ Voilà! Bake a cake and now you're all set!


Here are some yummy cupcakes I made to go a long with my magical cake! Look at the little flags made with washi tape and leftover sparkly sticker paper!


xo Natalie

SIMILAR POSTS

Itsy Bitsy Spider

Hi there! I got to work in a junior kindergarten for the past two weeks and we did some pretty cute Fall and Halloween crafts! Here is our fun spider craft!

Materials
 ✂ Black construction paper
 ✂ Orange construction paper
 ✂ Wiggly eyes
 ✂ Glue
 ✂ Scissors 

Simply trace & cute a large circle and glue 8 little strips of paper for legs...or 9 or 15! Hah!) don't forget a smile!


Song: This Itsy-bitsy Spider
The itsy-bitsy spider
Climbed up the water spout
Down came the rain
And washed the spider out
Out came the sun
And dried up all the rain
And the itsy-bitsy spider
Climbed up the spout again

Chanson: L'araignée Tiké 
L’araignée Tiké 
Monte la gouttière 
Tiens, voilà la pluie 
Tiké tombe par terre. 
Mais le soleil a chassé la pluie 
Et l’araignée Tiké remonte la gouttière

SIMILAR POSTS

Spooky wreath

Hi there! One of my favourite holidays is fast approaching and to celebrate, I decided to make a spooktacular wreath! Woohoo! Complete with tiny bats and lovely felt flowers! I hope it makes my neighbours smile!

Materials 
  ★ grapevine wreath
  ★ felt
  ★ thread & needle
  ★ buttons
  ★ string
  ★ colored paper
  ★ hot glue gun

Felt flowers! Tutorial here
Getting my craft on!
Voilà!

SIMILAR POSTS

Cutest Business Cards

Hi there! I've been so busy lately! Learning to drive, changing jobs and trying to enjoy some summer. One if the things I've had to do -in now a substitute teacher- is meet other teacher and network. Not the easiest thing in the world but a lot easier with adorable business cards. My friend introduced me to MOO.com, a company based in East Providence, Rhode Island, and I fell in love with their mini-cards. Half the size and half the price!. Their cards are such high quality (and not expensive!) that I get compliments every time I hand one out! I've even added a little sticker with my picture on it so teachers remember me! Haha!
I resisted adding my picture to my card, but other teachers love it. They get so many
cards that they don't often remember who's who. Then they see me around the school
and can put a name to my lovely face! :)
My pack of 100 mini-cards ($19.99!) come in this lovely little white box!
If you want to try them for yourself use this promo code! 
I promise you wont be disappointed!

SIMILAR POSTS

Handmade congrats cards!

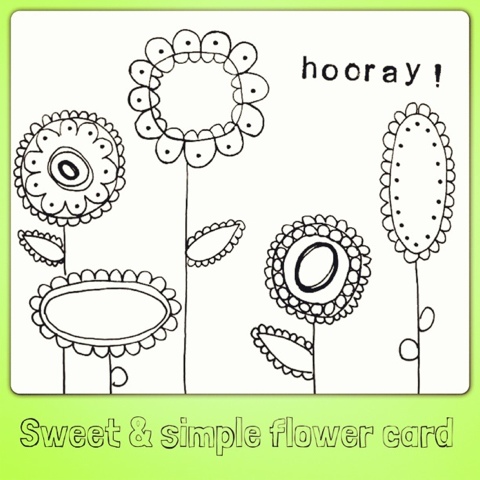
I had some fun drawing done handmade cards... One is a congrats Hooray! Card and the other was for my friends' wedding! I had a bunch if fun drawing while watching a Tom Cruise movie and eating popcorn! Hooray!


Look at this cute Bride and Groom! They would look
adorable on that tandem bicycle!


SIMILAR POSTS

Bird mobile

Hi there! I hope you're having a nice summer! I've been pretty busy with work and big life changes and now things seem to be settling down. I haven't been doing too many crafts lately but This will change in August! I have some fun projects lined up...Hooray!

I wanted to share this adorable Bird Mobile I made for my friend Jess, who is expecting a little girl VERY soon. Remember all those Homemade baby-shower gifts? Well here's another one to add to that set! It matches!


You'll need
  ❀ 1m of fabric (I used various little scraps)
  ❀ 1 spool thread
  ❀ stuffing
  ❀ small beads (eyes)
  ❀ 6" metal ring
  ❀ 3 m of ribbon to cover ring
  ❀ fishing line
  ❀ large button
  ❀ tacky glue

Directions
BIRDS: Cut your fabric using the pattern under here. I made 7 birds (2 perched on the ring and 5 hanging), but you can make as many as you like! Start by sewing a bead on each body (in the middle of the head) for each bird (2/bird). Sew the birds by lining up the belly with the lines on the body, right sides together. You can also add a little ribbon on the top of the bird to loop the fishing line later on. Leave a little opening so that you can turn them right side out and stuff them. Sew shut. Sew the wings (right sides together and flip, then sew shut) and either glue or sew onto each side of the bird.

MOBILE: cover the metal ring by wrapping it in ribbon. Glue in place. Tie 4 x16" pieces of fishing line to the ring and gather by weaving it through a large button and tie a knot. Glue or sew two birds onto the ring. Attach the 5 other birds using fishing line once again and tying them at different heights. Voila!

The Happy mommy unwrapping her mobile!

SIMILAR POSTS

DIY Salty Oceans!

Summer...How I love you! To celebrate summer and the beach we made an awesome craft during our last week of school... My last craft ever at my  Montessori Preschool *sniff* (I'm now a supply teacher for a school board). So here it is: a Salty Ocean Scene, complete with sharks, starfish, whales and fishies! It even doubled as a science experiment: we played with salt!

The Science: "Lightly sprinkle salt on the picture while it is still wet. Watch the texture increase as the salt absorbs the water around it but leaves the pigment behind.The chemical reaction leaves light spots where the salt grains landed."


Materials
♒ watercolours
 ♒ paintbrushes
 ♒ paper
♒ table salt
♒ construction paper
♒ glue
♒  scissors
♒ coloring pencils
♒ cardstock (for stencils)

Start by making a beautiful watercolor backgrounds....
Then ciut out some fun ocean creatures (you can make
stencils for the hard ones like sharks and whales!)
Ta-dam! Look at these guys!

SIMILAR POSTS