School/kids crafts
 Happy New Year! Today we celebrated Chinese New Year at school with some dumplings, decorations, fancy outfits and... crafts! It's the year of the Dragon... a year of excitement, surprises and big, bold innovative projects! A year to take risks (why not?! Even if you're not a big astrology/mystical person like me!)! To celebrate this exciting new year, we decided to create some beautiful paper dragons! Wanna make em? I found the project over here and made a few changes! Enjoy! ♡
Paper Dragons!

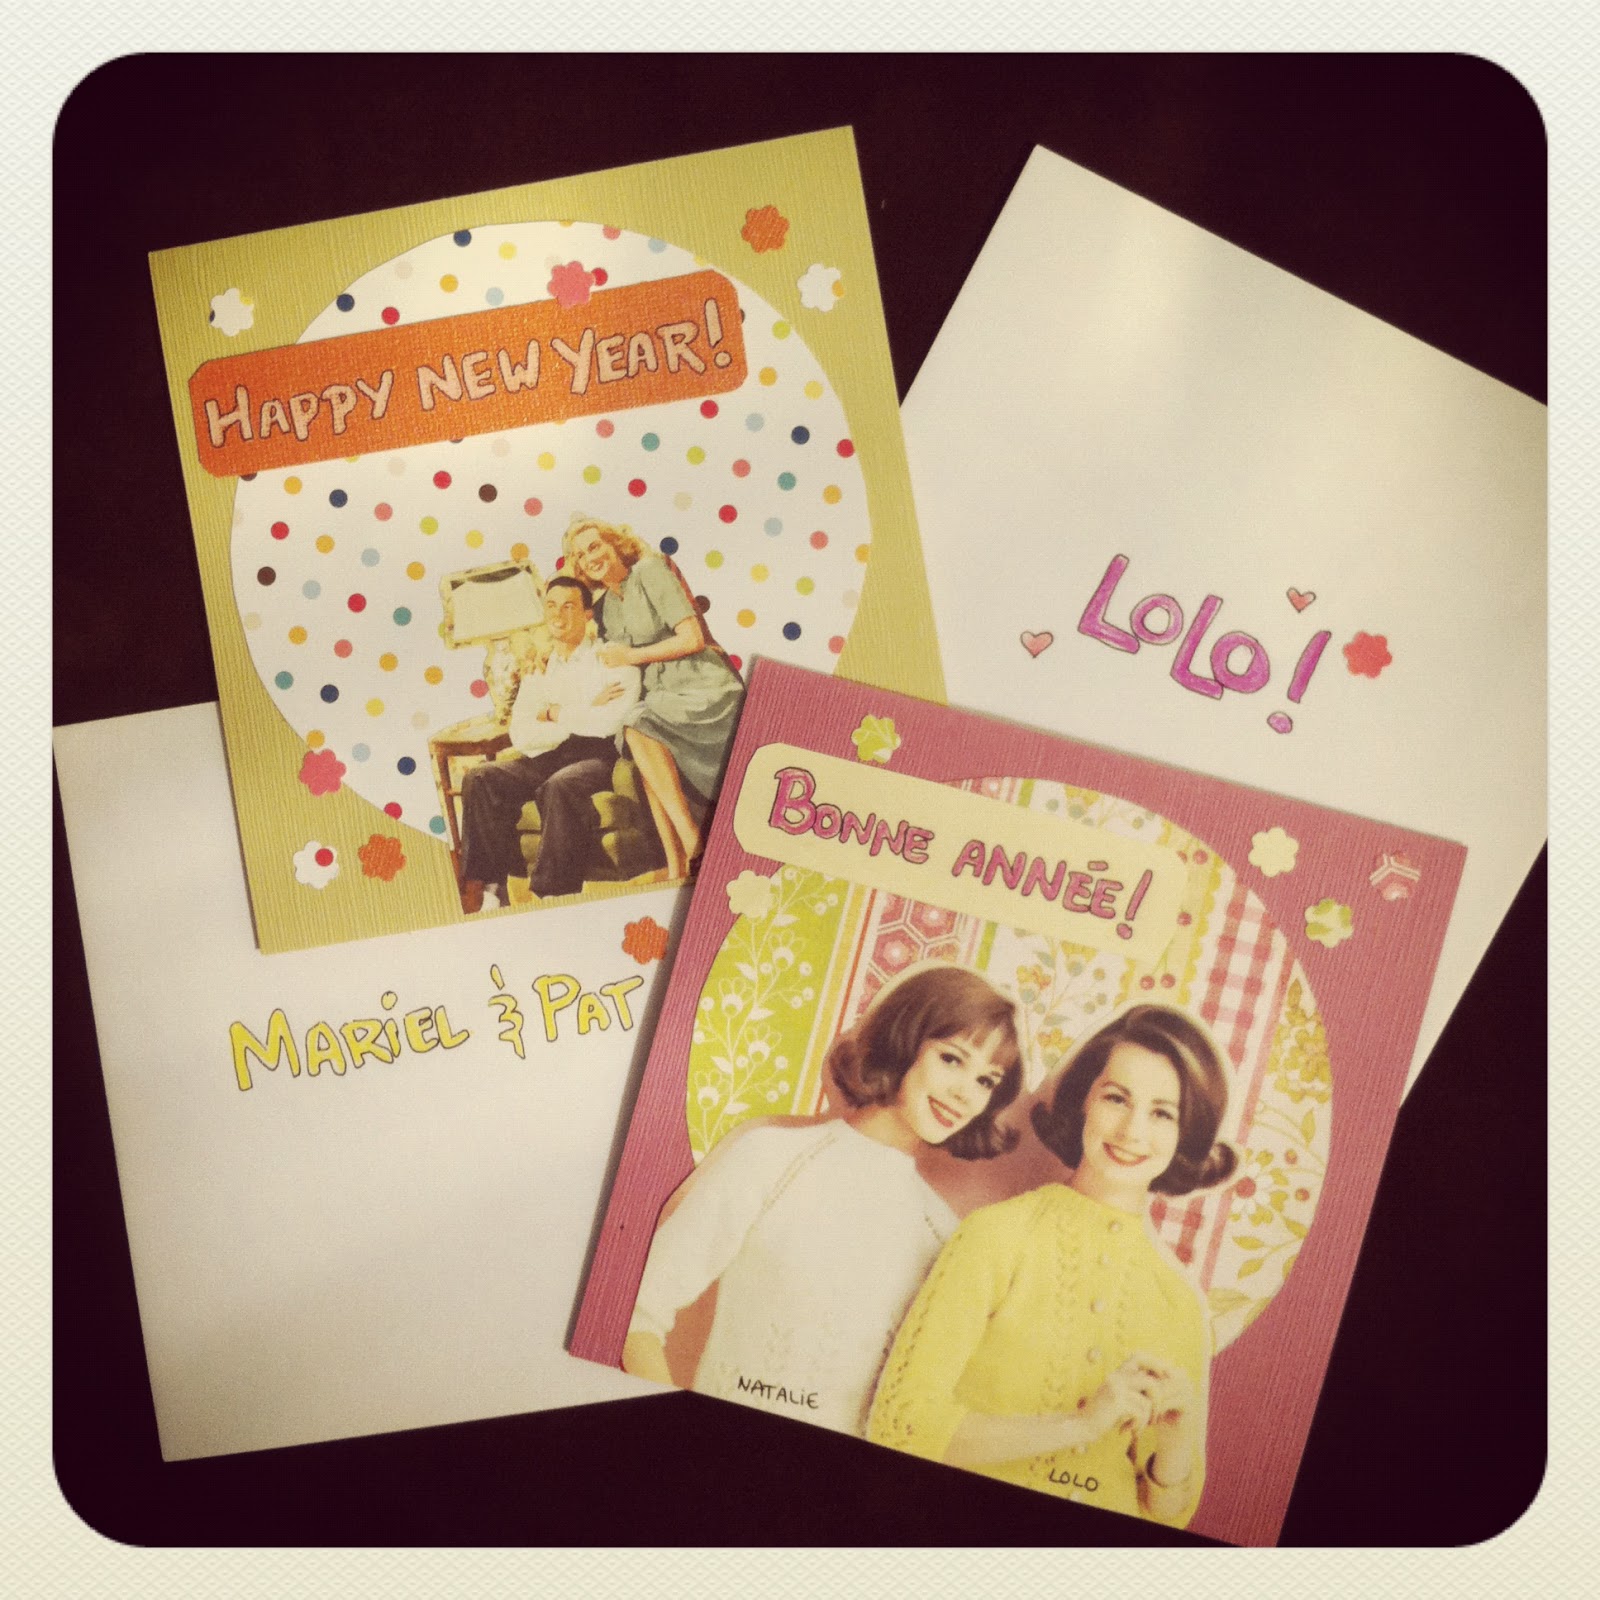
Happy New Year!
Gong Hey Fat Chow!
 |
| Beautiful colours! |
 |
| We made the body with a paper chain instead of an accordion! |


0 commentaires: