Handmade congrats cards!

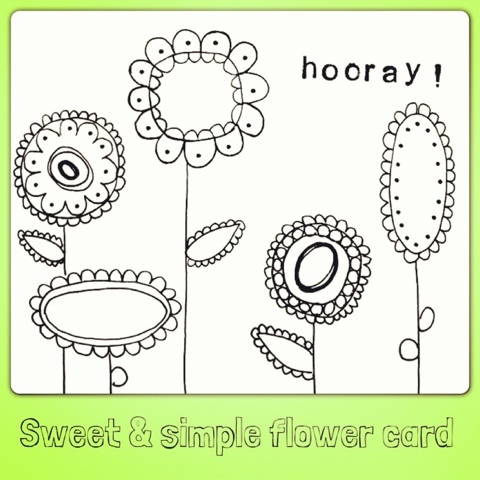
I had some fun drawing done handmade cards... One is a congrats Hooray! Card and the other was for my friends' wedding! I had a bunch if fun drawing while watching a Tom Cruise movie and eating popcorn! Hooray!


Look at this cute Bride and Groom! They would look
adorable on that tandem bicycle!


SIMILAR POSTS

Bird mobile

Hi there! I hope you're having a nice summer! I've been pretty busy with work and big life changes and now things seem to be settling down. I haven't been doing too many crafts lately but This will change in August! I have some fun projects lined up...Hooray!

I wanted to share this adorable Bird Mobile I made for my friend Jess, who is expecting a little girl VERY soon. Remember all those Homemade baby-shower gifts? Well here's another one to add to that set! It matches!


You'll need
  ❀ 1m of fabric (I used various little scraps)
  ❀ 1 spool thread
  ❀ stuffing
  ❀ small beads (eyes)
  ❀ 6" metal ring
  ❀ 3 m of ribbon to cover ring
  ❀ fishing line
  ❀ large button
  ❀ tacky glue

Directions
BIRDS: Cut your fabric using the pattern under here. I made 7 birds (2 perched on the ring and 5 hanging), but you can make as many as you like! Start by sewing a bead on each body (in the middle of the head) for each bird (2/bird). Sew the birds by lining up the belly with the lines on the body, right sides together. You can also add a little ribbon on the top of the bird to loop the fishing line later on. Leave a little opening so that you can turn them right side out and stuff them. Sew shut. Sew the wings (right sides together and flip, then sew shut) and either glue or sew onto each side of the bird.

MOBILE: cover the metal ring by wrapping it in ribbon. Glue in place. Tie 4 x16" pieces of fishing line to the ring and gather by weaving it through a large button and tie a knot. Glue or sew two birds onto the ring. Attach the 5 other birds using fishing line once again and tying them at different heights. Voila!

The Happy mommy unwrapping her mobile!

SIMILAR POSTS

DIY Salty Oceans!

Summer...How I love you! To celebrate summer and the beach we made an awesome craft during our last week of school... My last craft ever at my  Montessori Preschool *sniff* (I'm now a supply teacher for a school board). So here it is: a Salty Ocean Scene, complete with sharks, starfish, whales and fishies! It even doubled as a science experiment: we played with salt!

The Science: "Lightly sprinkle salt on the picture while it is still wet. Watch the texture increase as the salt absorbs the water around it but leaves the pigment behind.The chemical reaction leaves light spots where the salt grains landed."


Materials
♒ watercolours
 ♒ paintbrushes
 ♒ paper
♒ table salt
♒ construction paper
♒ glue
♒  scissors
♒ coloring pencils
♒ cardstock (for stencils)

Start by making a beautiful watercolor backgrounds....
Then ciut out some fun ocean creatures (you can make
stencils for the hard ones like sharks and whales!)
Ta-dam! Look at these guys!

SIMILAR POSTS

Bubble Painting

Wanna create amazing paintings with bubbles! It's so easy... and fun! We made fun bookmarks at school last week and the kids went crazy! They LOOOOOVED this craft. Eventhough two of our 3 yr olds actually drank the purple paint (make sure it's non toxic!) This was easily one of our best crafts. Check out the instructions on this great Bubble Painting Tutorial I found!

Materials
❍ dish soap
❍ cups
❍ straws
❍ tempera paint **NON TOXIC
❍ thick with paper or cardstock
Beautiful abstract masterpieces!
SO MANY BUBBLES!

SIMILAR POSTS

I ♡ You Monster Cards!

Hi! We had a busy week making some awesome crafts for Father's Day at school and getting ready for the end of the school year! Look at these adorable I love you cards! The "I" is a hole that shows an eye ball  and when open it... BAM! A MONSTER! Adorable and Silly: what every card should be.

Materials
 ♥ white cardstock
 ♥ black marker
 ♥ red construction paper
 ♥ coloring pencil
 ♥ scissors
 ♥ letter stamps & ink pad (optional)
Instructions: Fold a piece of cardstock in half and trim to desire card size. Cut out a circle in the middle/left side of the card front. Fold and trace the "hole" on the inside of the card. Draw in an eye ball with a black marker. Open your card and draw a silly creature around the eye! Then decorate the front! Cut and paste a little red heart and stamp the work "You". Ta dam!

Pretty cute on the outside.....
BAM! Look at these MONSTERS inside!!!
Perfect for father's day or any occasion where you wanna
tell someone I LOVE YOU!
Check out the inspiration for the project.


SIMILAR POSTS

DIY Foam Letter Stamps

Hi there! Want a way to create cheap letter stamps you can use with kids?! I bought some adhesive foam alphabet letters from my local craft store (about 1" tall) and mounted them on a piece of foam core (thick cardboard would work too! think cardboard box thickness). They were perfect for our "I ♡ you" monster cards!

Materials
✰ adhesive foam letters
✰ foamcore or thick cardboard
✰ glue
✰ ink pad

I ended up doubling the foam letters to make them extra
 thick and squishy!

SIMILAR POSTS

DIY sunglasses case!


Hi there!
It was my friend Julia's Birthday today and I decided to include a handmade goody in her gift bag  She's always throwing her expensive sunglasses in her purse, so I figured a nice padded case would serve her good! I found this awesome blog post that explains how to make a fun little zippered case. I just made it slightly smaller and added some quilting batting. Next time I'm gonna try the fun design with the fabric paint & stencil!


Materials
✂ Two 7.5"x 4.5" rectangles of fabric (exterior)
✂  Two 7.5"x 4.5" rectangles of fabric (lining)
✂ Two 7.5"x 4.5" rectangles of batting or felt
✂ 7" zipper
✂ Sewing machine

Instructions here

Check out the cute ice cream cone card I made her! Happy birthday Julia! xo


SIMILAR POSTS