DIY crafts

Stamped Air-Dry Clay Ornaments

17:27 Natalie Karine 0 Comments


Hi there! Today, I did a fun project with my crafty friend, which is pretty rare these days with a 4 month old! During little ones nap, I got my clay out in hopes to make some handmade ornaments. I bought the white air-dry clay to make little baby handprints, which we eventually got to, but while waiting for baby to wake up, we had fun experimenting with different kind of stamping. I found some ideas on this fun blog while searching on Pinterest. 
I brought out some stamps, but the using real cedar branches was so fun! I used a brayer, but a rolling pin works fine! For the ornament shape, i used a cookie cutter, but since I didn't have a circle, I used a cup and an exacto knife like it's shown above. They should take 2-3 days to dry... just don't forget to make your string/hook hole before they do!  I can't wait to hang them in the tree! 

0 commentaires:

DIY crafts

Big Paper Bows

04:33 Natalie Karine 0 Comments


This was a fun one! How do you wrap a big akward gift?! With a giant bow of course! 

Last year I reclaimed a bunch of science lab high stools and spray-painted them various colours for my wonderful teacher friends. This was for Mme Emilie's birthday... So of course it needed a giant bow! Here's the tutorial I found on pinterest. I had made a smaller version with scrapbooking paper before, but not one this big. I ended up using wrapping paper to get a fun pattern. It turned out so well!


a smaller version of the bow, with scrapbooking paper.


0 commentaires:

BABY,

Baby Milestones Month Discs

04:08 Natalie Karine 0 Comments

Hi! These baby milestone discs were so fun to make. I wanted to buy some on Etsy but couldn't find any for less than $40... So I went to the craft store and gathered my supplies! I actually made these 6 days before baby's birth! 
I used wood discs and some acrylic paint and topped them with a vinyl decal. Here's the free link I used for the SVG file on the Denver Housewife's blog

0 commentaires:

DIY crafts,

Reclaimed Foam Chair

03:56 Natalie Karine 0 Comments

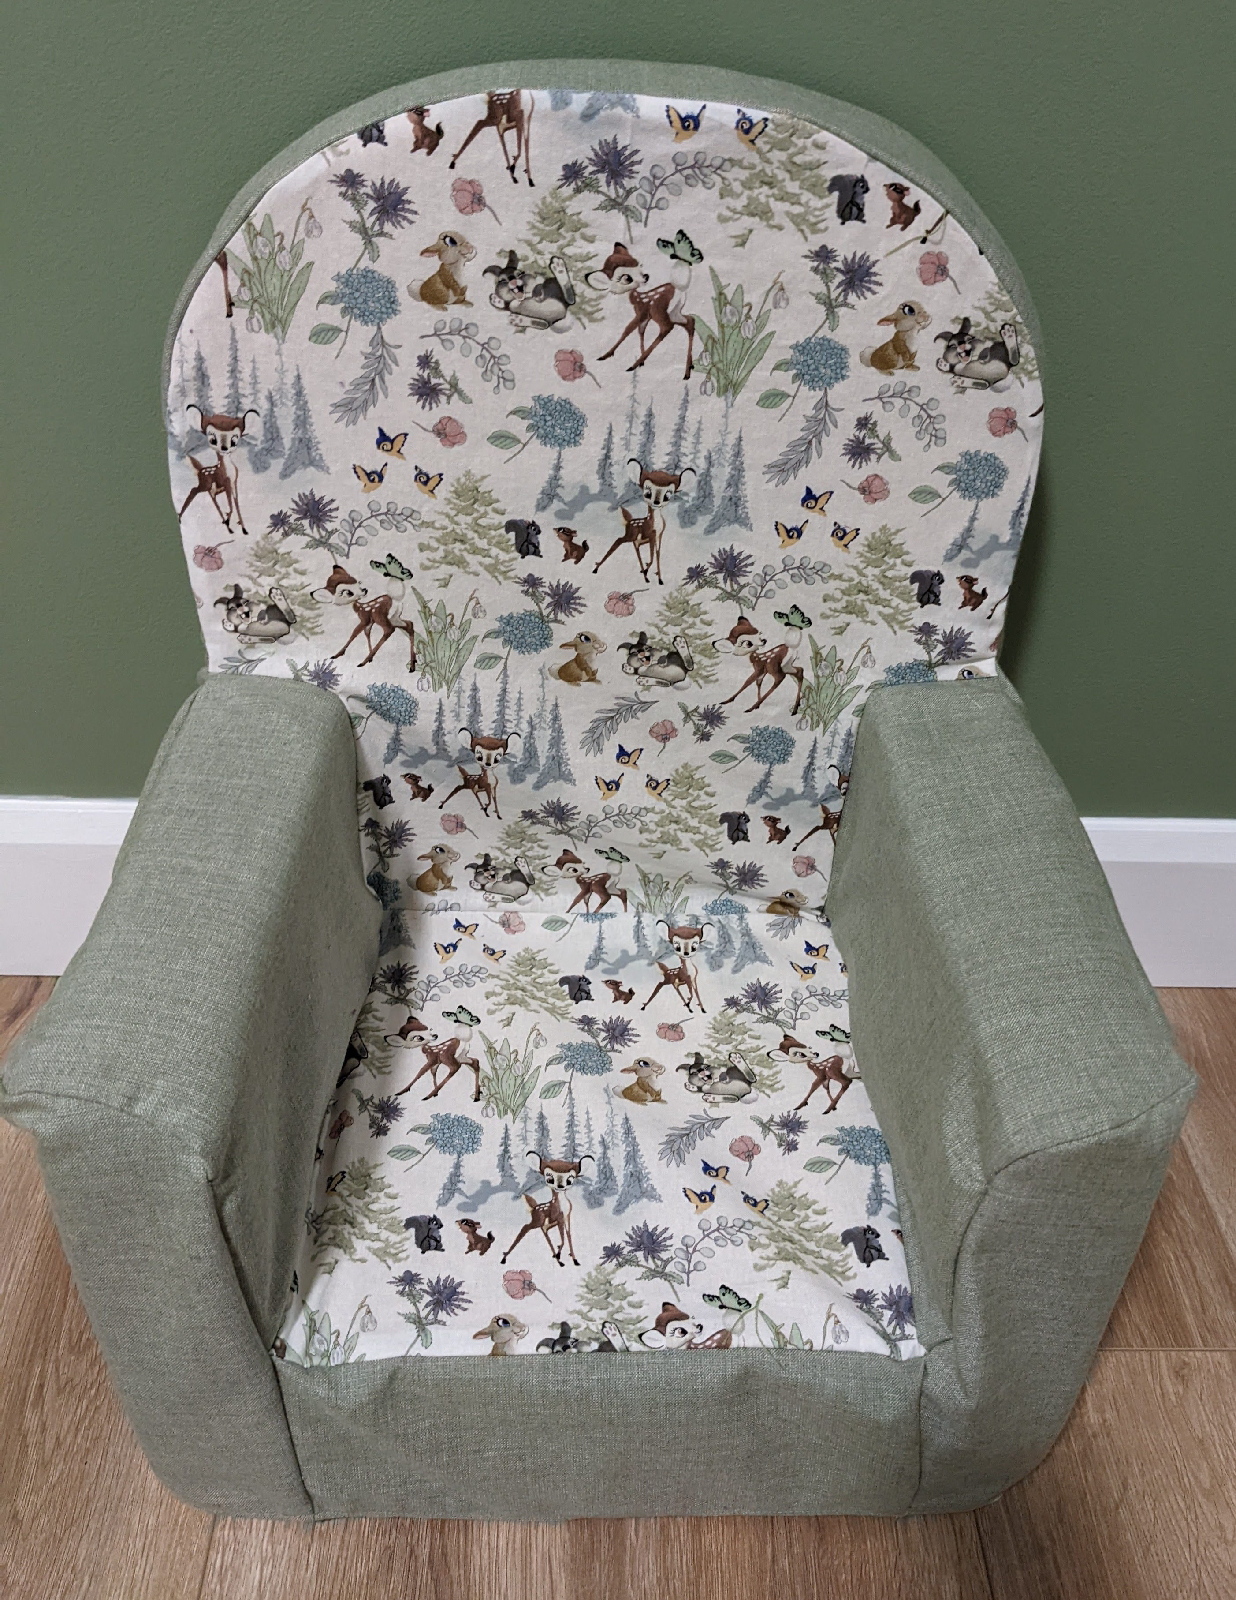
Hi again! Here's a little project I did last Spring. My husband found this fuzzy purple Tinkerbell chair on our buy nothing group, hoping that I could make a new cover for it... Challenge accepted! Man this wasn't easy. I took the fuzzy purple cover apart and cut all new pieces with the sage green fabric and Bambi accent. Turned out so well, matches with little one's room AND we got to recycle a chair! Woot! 

0 commentaires:

BABY,

Baby Burp Cloths!

03:46 Natalie Karine 0 Comments

Oh baby! Most crafting I did in this past year was all baby related with our little one arriving in July. Everyone told me I could never have enough burp cloths... So I went in my fabric stash and found flannel. I even got to repurpose some gently used receiving blankets from the thrift store. These were super easy to make. My husband and I just love these! The are super absorbent and cover pretty well. I ended making 20 and it's true, you can NEVER have enough! 

Here's the link to the FREE pattern I used: 
https://blog.treasurie.com/burp-cloth-pattern/ 

0 commentaires:

CricutMaker

Cousin Crew!

03:37 Natalie Karine 0 Comments

Hi there! I haven't posted in a while! Oh boy! Last year, I was pregnant and nauseous for 9 months and now I'm living the life of a busy mom.  Going to try to post a few things before the year is done! 

Here's a little project I did for a friend. Her family has a bunch of kids...7! And all the cousins hang out together. With two new babies, there are some very tiny cousins. Love how the "cousin crew" shirts turned out and the "new to the crew" onesies are just so adorable!! 
For those with a Cricut, here's a link to the project HERE!

0 commentaires: