DIY cards

You're tea-riffic card!

17:47 Natalie Karine 0 Comments

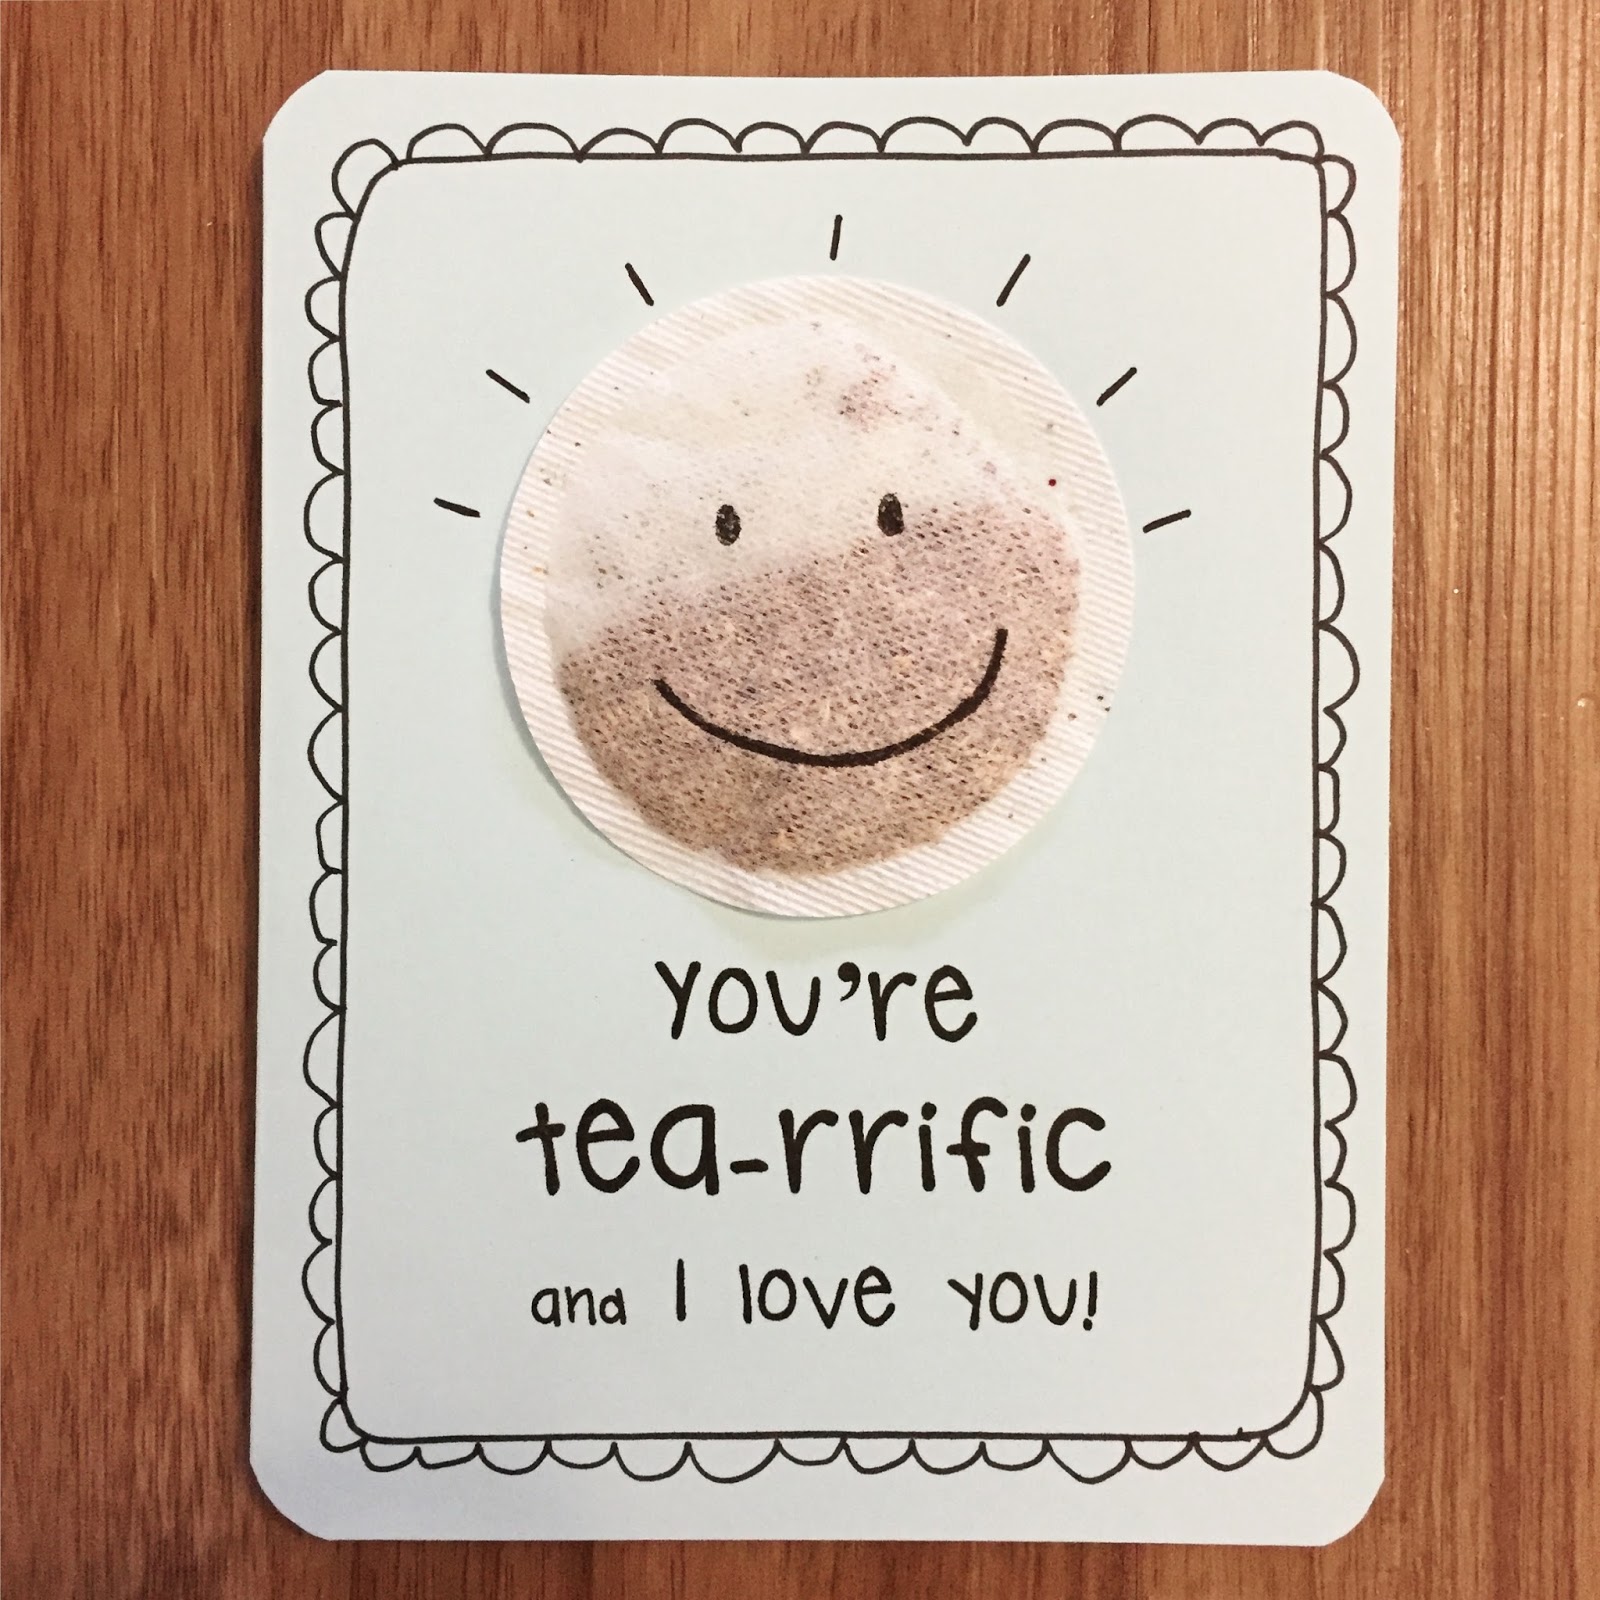
Happy Valentine's day! What a great day it's been: so many little hugs and valentines from my students, crafts and special treats! My day started off on a great note exchanging cards with my love Jeremy. I had so much fun making his card this weekend! I found the idea on pinterest, then printed the words from my computer and slapped a tea bag on there. Added a bit of details with a thin black marker and voilà: an adorable and hilarious card!

Materials:
 ✏ cardstock
 ✏ tea bag
 ✏ black marker


I picked a tea he likes... smells so yummy!
Who knew you could draw on a tea bag!?

0 commentaires:

DIY cards

DIY Beaver Valentines!

16:51 Natalie Karine 0 Comments

Hi there! It was snowing all day over here, so me and the mister stayed home. I decided to put on some comfy clothes and have a crafternoon after some movie-watching. What a lovely afternoon it was!

Every year, I usually make my students a little handmade valentine. This year, I decided to revisit an old project: my DIY Squirrel valentines (check them out here). However, our school mascot is a beaver... so i just switched out my little woodland creature. They turned out so adorable!!


Materials:
  ❥ coloured card stock 
  ❥ fine black marker
  ❥ glue stick
  ❥ scissors 
  ❥ coloring pencils 
  ❥ felt hearts
  ❥ DIY Heart Stamp & stamp pad
à
I made all 22 one step at a time, assembly-line style!

So cute! Can't wait to hand them out!

0 commentaires:

DIY crafts,

Paper Heart Garland

17:41 Natalie Karine 0 Comments

Hi there! Valentines day is around the corner and I wanted to decorate my classroom. Not go overboard, but just add a few hearts here and there. I had some pretty valentine's day patterned paper i picked up last year,  so I decided to cut out some hearts and string them together to make a garland. I have 3 hanging around the classroom and I love 'em so much! I even laminated them so that I can re-use them every year! They were inspired my my Fall leaf garlands! Hooray for DIY!


Materials:
 ❥ coloured or printed cardstock
 ❥ needle and string
 ❥ scissors


Instructions:
① Make a heart the size you like (I found a clipart on-line)
② Trace hearts onto your cardstock and cut them out (I cut two sheets at once - one with the image, one without underneath).
③ "Sew" the string into each heart, alternating colours!
④ Voilà!

0 commentaires: