DIY cards

DIY Woodland Holiday Cards

18:07 Natalie Karine 0 Comments

Hi there! I've been working on my holiday cards whenever I have a spare minute! I love them! I found the Martha Stewart template while I was looking through pinterest. It's meant for a felting project, but i thought... HOLIDAY CARDS! as soon as i saw it. Wanna make your own?

Here's what you'll need
❅ coloured cardstock (green, brown, red)
❅ blank cards
❅ scissors
❅ glue
❅ woodland template


1- fold a card or choose your blank card.
2- Add some stripes! You can even print some text on one.
3- Make an easy stencil (I printed the template unto cardstock) and trace it onto coloured paper. Cut out a whole bunch!
4- Glue your little creatues on and add any finishing touches!
I found these beautiful blank cards shopping at Winners!
My signature stamp at the back!
I wrote a special message inside and stamped the date!

All so different and fun!!
Wanna see previous years' holiday cards?!


0 commentaires:

Sewing

Personalized Giftset & Pouch

13:52 Natalie Karine 0 Comments

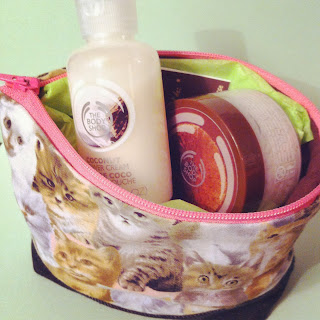
Hi there!I had a fun time sewing a little gift for my Friend yesterday! Ibought her a wonderfully smelling coconut giftset at the body shop, but wasn't crazy about the little pouch it came in, so I thought: why not make her one?! I remembered that she LOVED my kitty cat fabric last time we had craft day together, so i thought: purrrfect! (haha!) So here it is, how to personalize a giftset with some handmade goodness!

Check out the zippered pouch turorial HERE
before (plain)
after (amazing!)
birthday girl looking all happy opening gifts!

0 commentaires:

DIY crafts

Shining Star

17:52 Natalie Karine 0 Comments

Hi there! I love pre-holiday time for all the fun crafts I get to make. Tonight I hadefun making some paper crafts....beautiful shining stars for my little christmas tree. I made a big guy for the top and little ones too!

What you'll need:
✶ paint (acrylic or watercolor)
✶ glitter glue (or loose glitter)
✶ paintbrush
✶ thick paper
✶ scissors
✶ ruler
✶ pencil
✶ x-acto knife
① paint nice tones of purples and pinks. Let dry
and paint the other side
② Add glitter all over

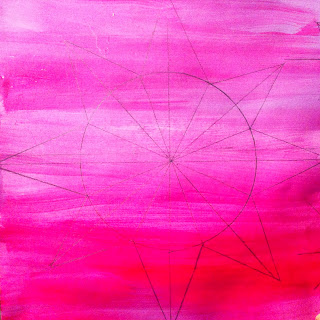
③ Draw a star. Start with a circle, then draw 4 lines accross,
evenly spaced out. Then, separate each section in half.
Draw the 8 points (see drawing below).
④ go over each line gently with a exacto knife, but
make sure not to go all the way through! Don't put
 too much pressure.
⑤ Fold every crease! Voilà!
I even made little ones with the leftovers and hung them
with thread.
Yours truly with my little tree!

0 commentaires:

School/kids crafts

Easy Paper Snowman

14:33 Natalie Karine 0 Comments

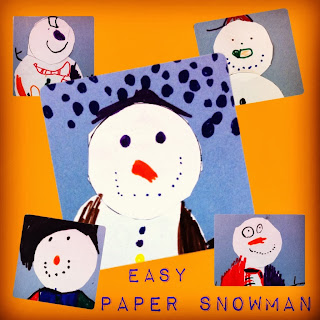
What a busy day! I've been pretty lucky as a supply teacer lately. I usually get booked in advance and teachers usually leave me activities and a plan of the day. However, life happens, and sometimes teachers call me last minute and don't have time to get anything ready. Today was one of those days, so I ended up improvising a lot and came up with this fun little craft for my kindergarten class. We even talked about shapes and sizes (small, medium, big). They practiced their cutting, pasting and drawing too! Woo hoo!

Materials:
construction paper, white paper (with circles), markers, glue, scissors

I drew three circles and photocopied some for every student.

Look a their fancy coats!
My oh my! The class was full of little artists!

0 commentaires:

DIY cards

Woof Cards

11:38 Natalie Karine 0 Comments

I wanted to share with you guys my latest fun DIY project... my "Woof Cards". Last summer, I went on a Value Village trip in North Bay with my cousin. There, I found an illustrated guide of all the different dog breeds, and thought CRAFT TIME! It's in black & white and has a nice retro/vintage feel to it, so I decided to use it to make fun cards. I picked up a fun pack of blank patterned cards with enveloppes and voilà! So simple!

Materials
 ❁ blank cards
 ❁ vintage B&W images
 ❁ patterned paper
 ❁ glue
 ❁ scissors

With a tiny fancy hat and hearts!
Pug, bulldog, terrier and rotweiller... ADORABLE!

0 commentaires: